

TL;DR
Ceiling cove design refers to a recessed ledge in a false ceiling that hides LED strips, creating soft indirect light. This guide covers 15 cove designs for every room type, from full perimeter glows to smart tunable-white systems. Each design includes cost estimates in INR, minimum ceiling height requirements, and the decorative fixture pairing that actually completes the room. The biggest mistake most homeowners make is treating cove lighting as the only ceiling light source, when it’s really just the ambient background layer.
What Ceiling Cove Design Actually Means
The term “ceiling cove design” blends two things: the structural recess (a ledge or tray built into a false ceiling) and the hidden lighting placed inside it. When done right, you see a warm glow washing across your ceiling without ever spotting the LED strip that creates it.
There’s an important distinction worth noting upfront. An architectural cove ceiling is the curved transition where wall meets ceiling, common in heritage buildings. A false ceiling cove, the kind most Indian homeowners search for, is a purpose-built ledge in POP or gypsum board designed to conceal LED strips. This article focuses on the second type, since that’s what over 70% of new apartments in India now include in some form.
Here’s the thing most design articles won’t tell you: cove lighting alone doesn’t finish a room. Think of the hidden LED strip as background music. It sets a mood, but the room still needs a lead vocalist, a pendant, chandelier, or set of wall lights that provides the visual focal point. Every design below includes a fixture pairing recommendation for exactly this reason.
If you’re planning a complete lighting scheme across multiple rooms, browse decorative lights to see how pendants, chandeliers, and wall lights work alongside cove installations.
At-a-Glance Comparison Table
| # | Design | Best Room | Min. Ceiling Height | Cove LED Cost (INR) | Pairs With |
|---|---|---|---|---|---|
| 1 | Perimeter Glow | Living room | 9.5 ft | ₹10,000–22,000 | Ring chandelier |
| 2 | Single-Wall Cove | Compact bedroom | 9 ft | ₹3,000–6,000 | Wall lights |
| 3 | Floating Island Panel | Double-height foyer | 10+ ft | ₹18,000–35,000 | Cascade chandelier |
| 4 | Tray Ceiling Inverted Cove | Master bedroom | 10 ft | ₹12,000–24,000 | Tiered chandelier |
| 5 | Double-Layer Dual-Zone | Open-plan living/dining | 10 ft | ₹20,000–40,000 | Linear pendant + sconces |
| 6 | Wall-Grazing Cove | Feature wall / curtains | 9 ft | ₹4,000–8,000 | Picture lights |
| 7 | Coffered + Cove | Formal dining | 10+ ft | ₹25,000–45,000 | Crystal chandelier |
| 8 | L-Shape Partial Cove | 2BHK apartments | 8.5 ft | ₹5,000–10,000 | Disc wall light |
| 9 | Curved Organic Cove | Luxury living room | 10 ft | ₹15,000–30,000 | Sculptural pendant |
| 10 | Cove + Profile Combo | TV room / feature wall | 9.5 ft | ₹12,000–20,000 | Decorative wall lights |
| 11 | Motion-Sensor Foyer Cove | Entrance hallway | 9 ft | ₹8,000–14,000 | Welcome pendant |
| 12 | Corridor Linear Cove | Hallways | 9 ft | ₹6,000–12,000 | Sequential wall lights |
| 13 | Bedroom Headboard Cove | Bedroom | 9 ft | ₹4,000–8,000 | Bedside sconces |
| 14 | Dining Tray Cove + Pendant | Dining room | 9.5 ft | ₹8,000–16,000 | Statement pendant |
| 15 | Smart Tunable-White Cove | Any room | 9 ft | ₹15,000–30,000 | Dimmable fixtures |
Costs shown are for LED strip installation only. False ceiling construction is separate (covered in the cost section below).
The 15 Designs
1. Perimeter Glow (Full-Room Cove)
Best for: Living rooms and master bedrooms that need even, wrap-around ambient light.
This is the most popular ceiling cove design in Indian homes. An LED strip runs along all four walls inside a continuous ledge, casting light upward onto the ceiling plane. The result is a soft, borderless glow that makes the room feel larger.
Key specs and costs:
- Cove depth: 100–125mm minimum from outer face to inner ceiling face
- A 12x12 ft room (roughly 14 metres of perimeter) costs ₹10,000–22,000 for a complete COB LED installation with aluminum profiles
- Use high-density COB LED strips to avoid visible diode dots
What to watch out for:
- A perimeter glow without a central fixture can feel flat, like a room lit by its edges but missing a heart
- If ceiling height is under 9.5 ft, the false ceiling drop will make the space feel compressed
- One practitioner from a Singapore lighting firm noted that most cove lighting problems begin with the false ceiling profile, and that homeowners should plan the light first, then choose the ceiling shape
Fixture pairing: A ring chandelier at the center gives the room a visual anchor while the perimeter cove handles the ambient layer.
2. Single-Wall Cove (Curtain-Side or TV-Wall)
Best for: Compact bedrooms under 150 sq ft and small TV rooms.
A single recessed cove along one wall, typically the curtain side, visually lifts the window wall without requiring a full-room false ceiling. This is the most budget-friendly cove option and the smartest choice for apartments where every inch of ceiling height matters.
Key specs and costs:
- Requires only a 2–3 ft gypsum border along one wall
- LED installation: ₹3,000–6,000 depending on room width
- Works in rooms with 9 ft slab height
What to watch out for:
- The room can feel unbalanced if the opposite wall has no light source at all
- Not ideal for rooms wider than 15 ft, where the single-wall glow won’t reach the far side
Fixture pairing: Place a petal wall light on the opposite wall to restore visual balance. The cove handles one side, the decorative fixture handles the other.
3. Floating / Island Ceiling Panel
Best for: Double-height foyers and large living rooms with 10+ ft ceilings.
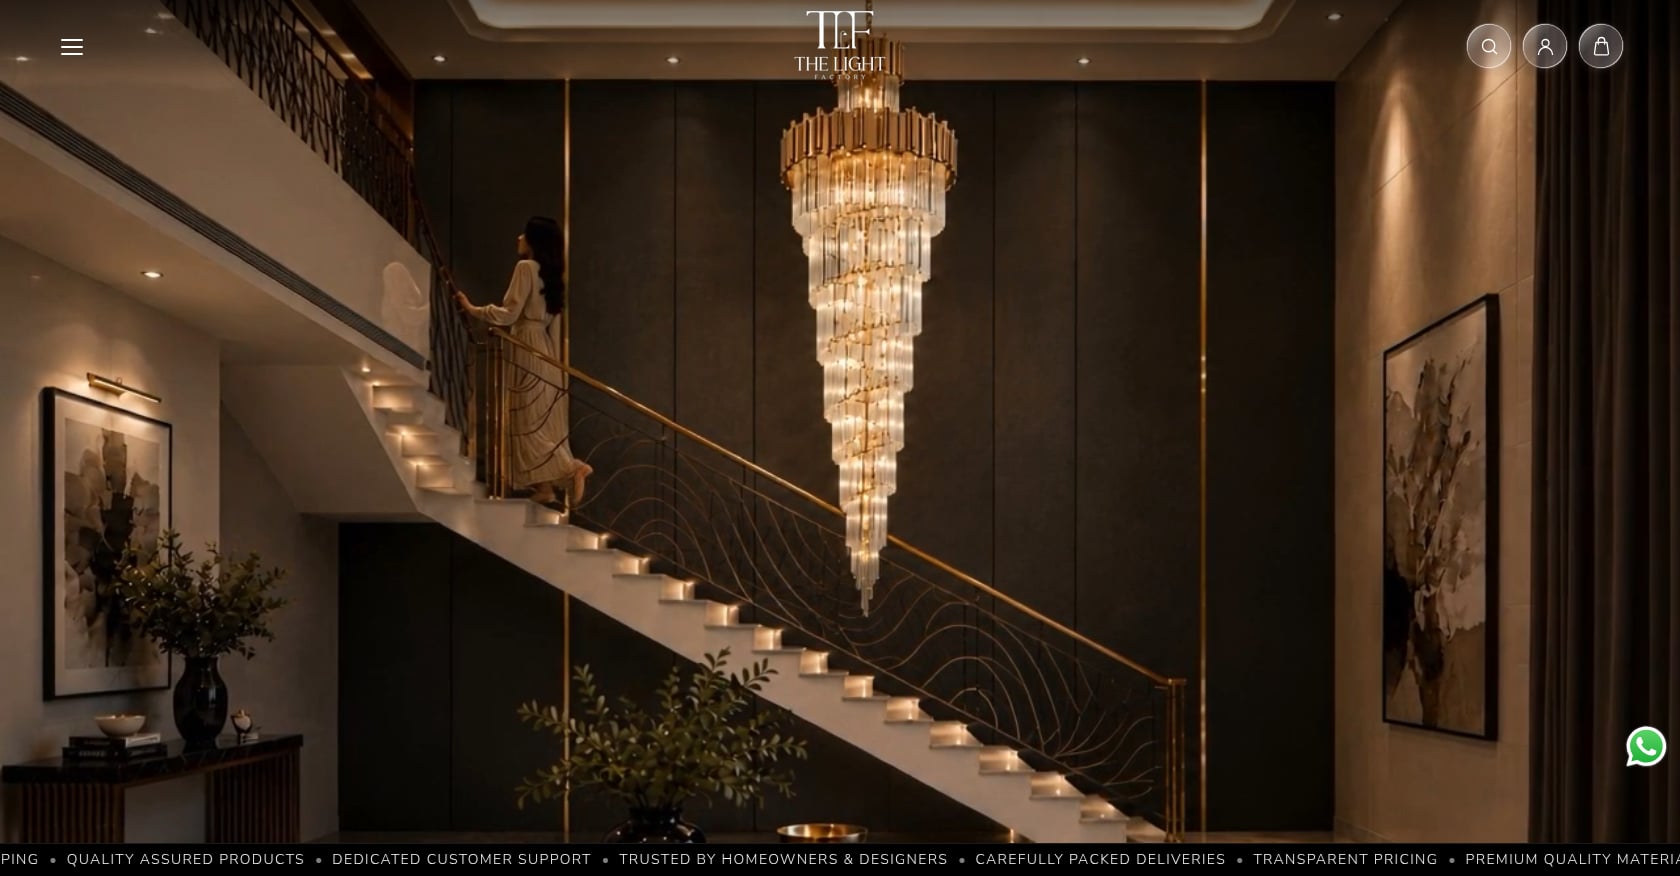
A gypsum or POP panel is suspended in the centre of the room with light placed on top, glowing outward toward the walls. The panel appears to hover. This creates a dramatic island effect that’s become a signature in premium Indian interiors and hotel lobbies.
Key specs and costs:
- Requires at least 10 ft slab height (preferably 12+ ft for full drama)
- LED installation: ₹18,000–35,000 depending on panel size
- The panel itself adds ₹8,000–15,000 in construction cost
What to watch out for:
- Structural support for the suspended panel needs careful engineering
- Without recessed downlights in the panel, the area directly beneath can feel dim
- This design is expensive and difficult to retrofit
Fixture pairing: A cascade chandelier dropping through a cutout in the floating panel creates a show-stopping centerpiece. The upward cove glow frames the chandelier from behind.
4. Tray Ceiling with Inverted Cove
Best for: Master bedrooms and formal living rooms that want perceived height gain.
This is the most common ceiling cove design in Indian bedrooms. The centre of the ceiling sits higher than the edges, and the light sits on the perimeter ledge shining upward into the tray. The ceiling appears to float. The room feels taller even though you’ve added a false ceiling layer.
Key specs and costs:
- The tray recess works best at 3–5 inches deep with the LED strip set back enough to stay hidden from seated eye level
- LED installation: ₹12,000–24,000 for a standard master bedroom
- Designer POP with layers and cove lighting runs ₹120–200 per sq ft
What to watch out for:
- The tray center can look dark without supplementary lighting
- Indian practitioners report that a cove depth under 100mm is the most common installation mistake, because the LED dots become visible from across the room at seated viewing angles
Fixture pairing: A tiered chandelier dropping into the tray creates depth. The warm cove glow around the edges frames the chandelier beautifully. For guidance on sizing the chandelier, see this guide on choosing chandelier size.
5. Double-Layer Cove (Dual-Zone)
Best for: Open-plan living and dining areas that need independent lighting zones.
A double-layer false ceiling uses two levels of gypsum board. The lower layer has a cove cut along its inner edge. Electricians wire the inner cove and outer ceiling border as two separate circuits, so you can run warm white (3000K) inside and neutral or colored LEDs on the border independently.
Key specs and costs:
- Requires 10 ft minimum slab height due to the double drop
- LED installation for both zones: ₹20,000–40,000
- Adds ₹8,000–15,000 for the second-zone wiring and dimmers
- Multiple lighting zones add ₹8,000–15,000 to the overall room budget
What to watch out for:
- Complexity increases installation time by 2–3 days
- Two circuits mean two dimmers, which need to be planned at the electrical rough-in stage
- This design can look overdone in rooms smaller than 250 sq ft
Fixture pairing: A linear pendant over the dining zone and wall sconces in the living zone. This three-layer approach (cove ambient + pendant task + sconce accent) is the gold standard for open-plan spaces.
6. Wall-Grazing Cove
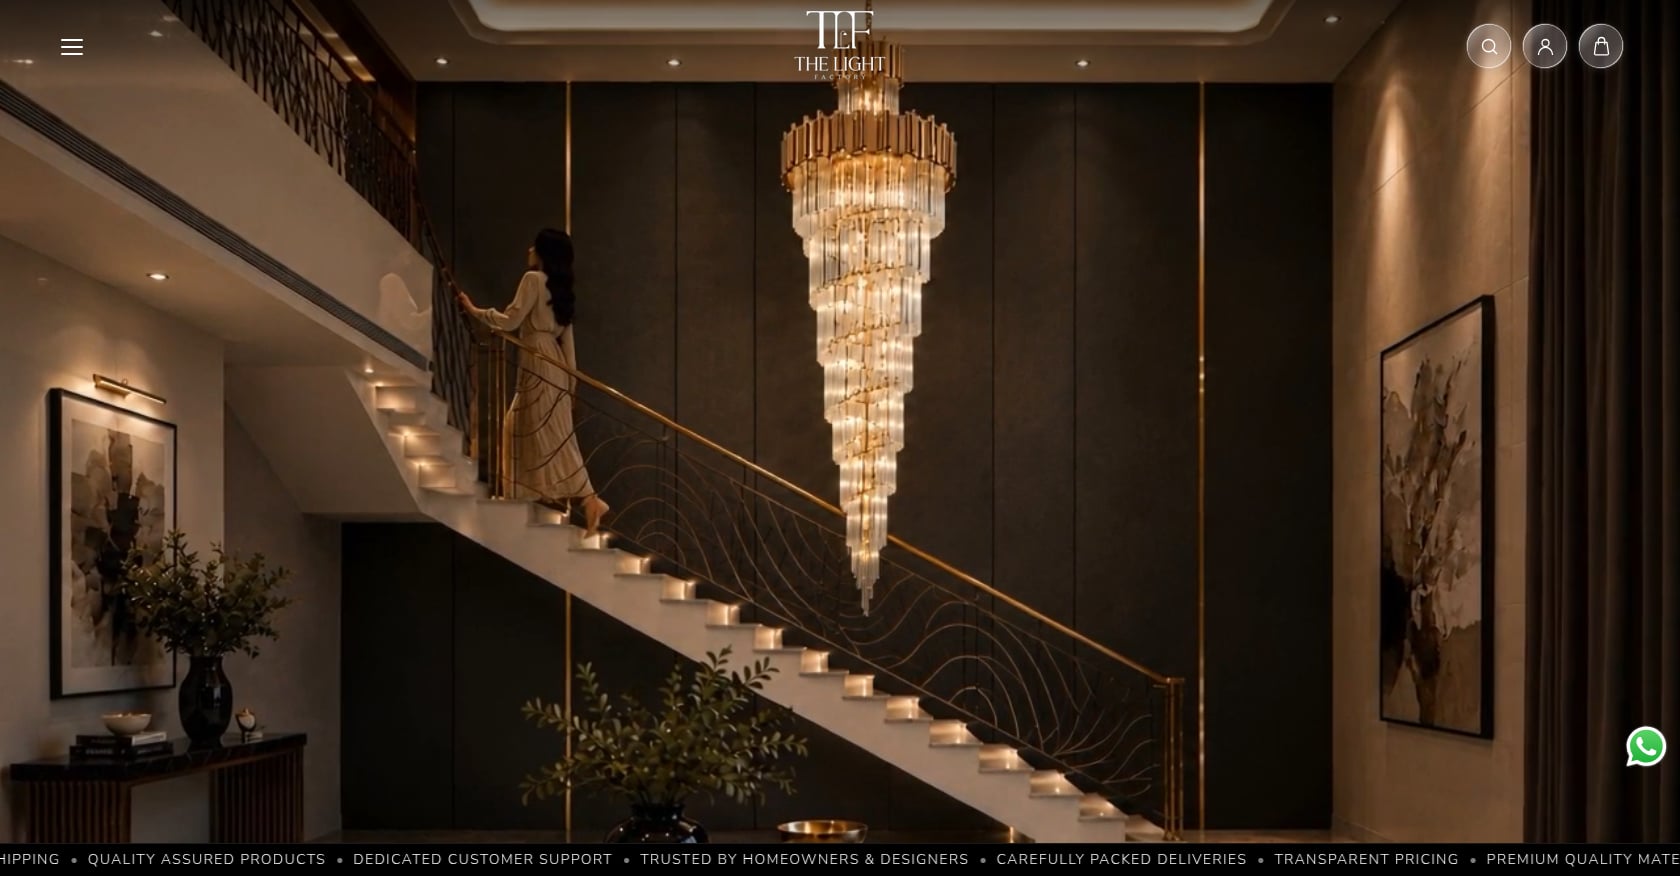
Best for: Rooms with textured stone walls, curtain walls, or large artwork.
A narrow slot at the very edge where ceiling meets wall directs light downward over the surface below, washing the wall with a smooth gradient. This is the technique behind the dramatic wall-wash effect seen in hotel lobbies. It works brilliantly over floor-to-ceiling curtains, exposed brick, or stone veneer.
Key specs and costs:
- The slot needs to be only 25–40mm wide
- LED installation: ₹4,000–8,000 per wall
- Best paired with warm white (2700–3000K) to bring out texture
What to watch out for:
- The wall surface must be relatively flat, as uneven surfaces create patchy shadows
- This technique highlights imperfections, so don’t use it on walls with visible joints or poor finishing
- Cool white strips over warm-toned stone will make the surface look washed out
Fixture pairing: Picture lights below specific artwork create focused accent points against the broader wall-graze backdrop. For rooms with a mix of art and textured panels, this combination is hard to beat.
7. Cove + Coffered Ceiling
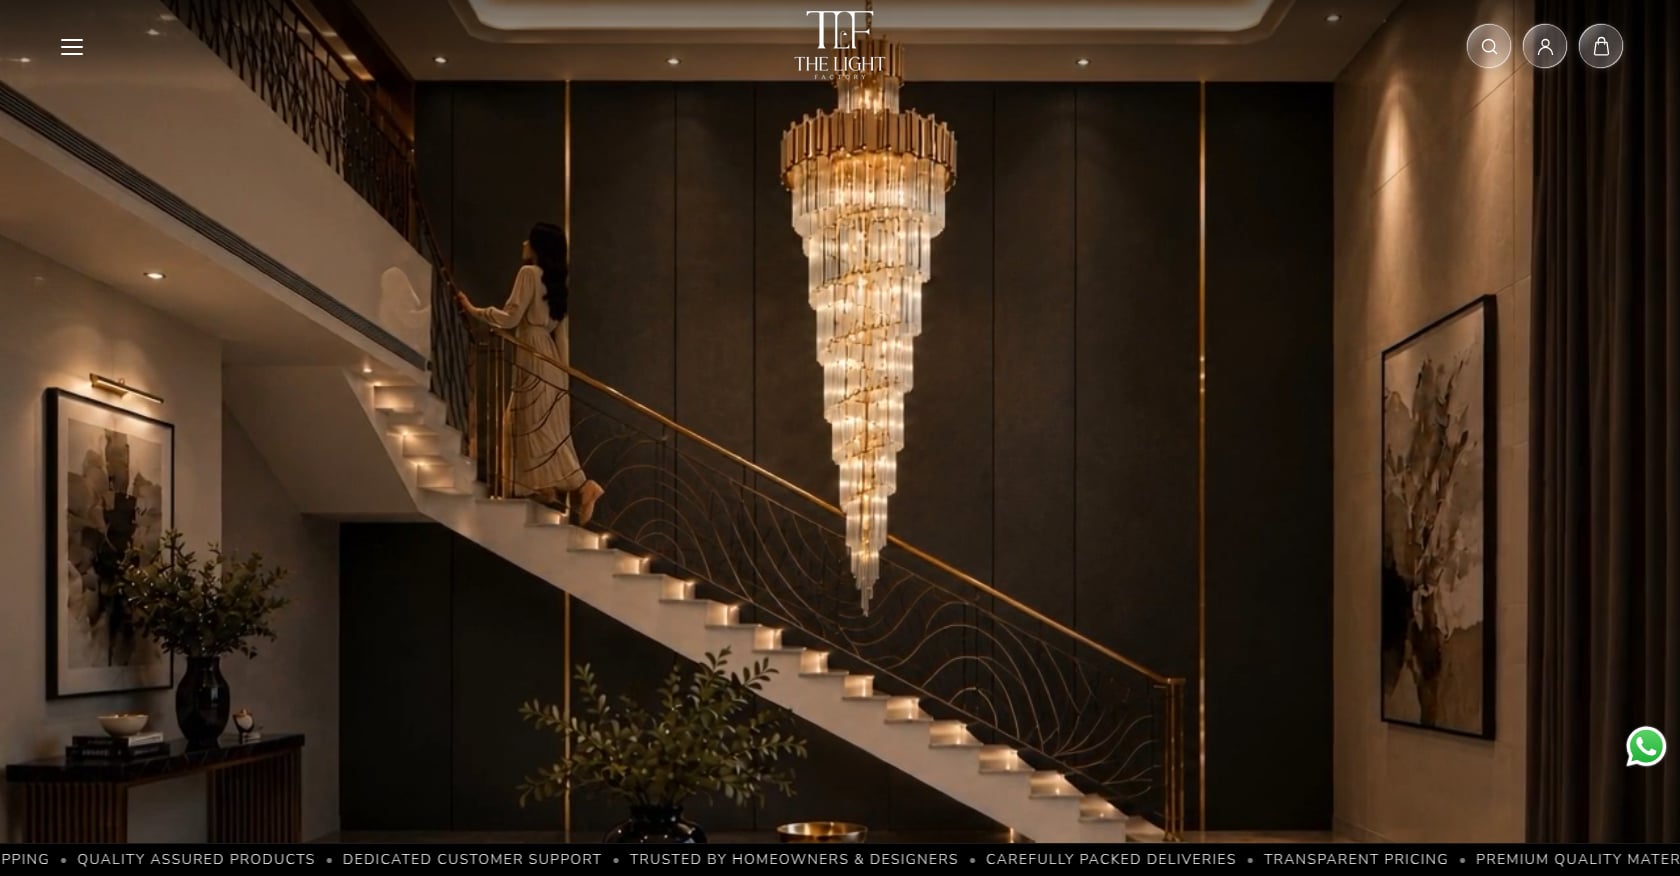
Best for: Luxury homes and formal dining rooms.
A geometric grid of recessed panels (coffers) with LED cove lighting tucked into each one. The strips create soft, indirect illumination that enhances the coffered ceiling’s three-dimensional depth. It’s a classic design that reads as opulent without relying on heavy ornamentation.
Key specs and costs:
- Requires 10+ ft slab height (coffers need 4–6 inches of depth)
- LED installation: ₹25,000–45,000 depending on grid density
- POP construction for coffered panels: ₹150–200 per sq ft
- This is one of the most expensive ceiling cove designs
What to watch out for:
- Each coffer needs its own wiring run, increasing labour costs significantly
- Dust accumulates in the recesses, requiring regular cleaning
- In rooms under 200 sq ft, coffered ceilings can feel overwhelming
Fixture pairing: A crystal wall light on adjacent walls complements the formality. A crystal chandelier at center is traditional, but even a modern geometric pendant works if the proportions are right.
8. L-Shape / Partial Cove for Low Ceilings
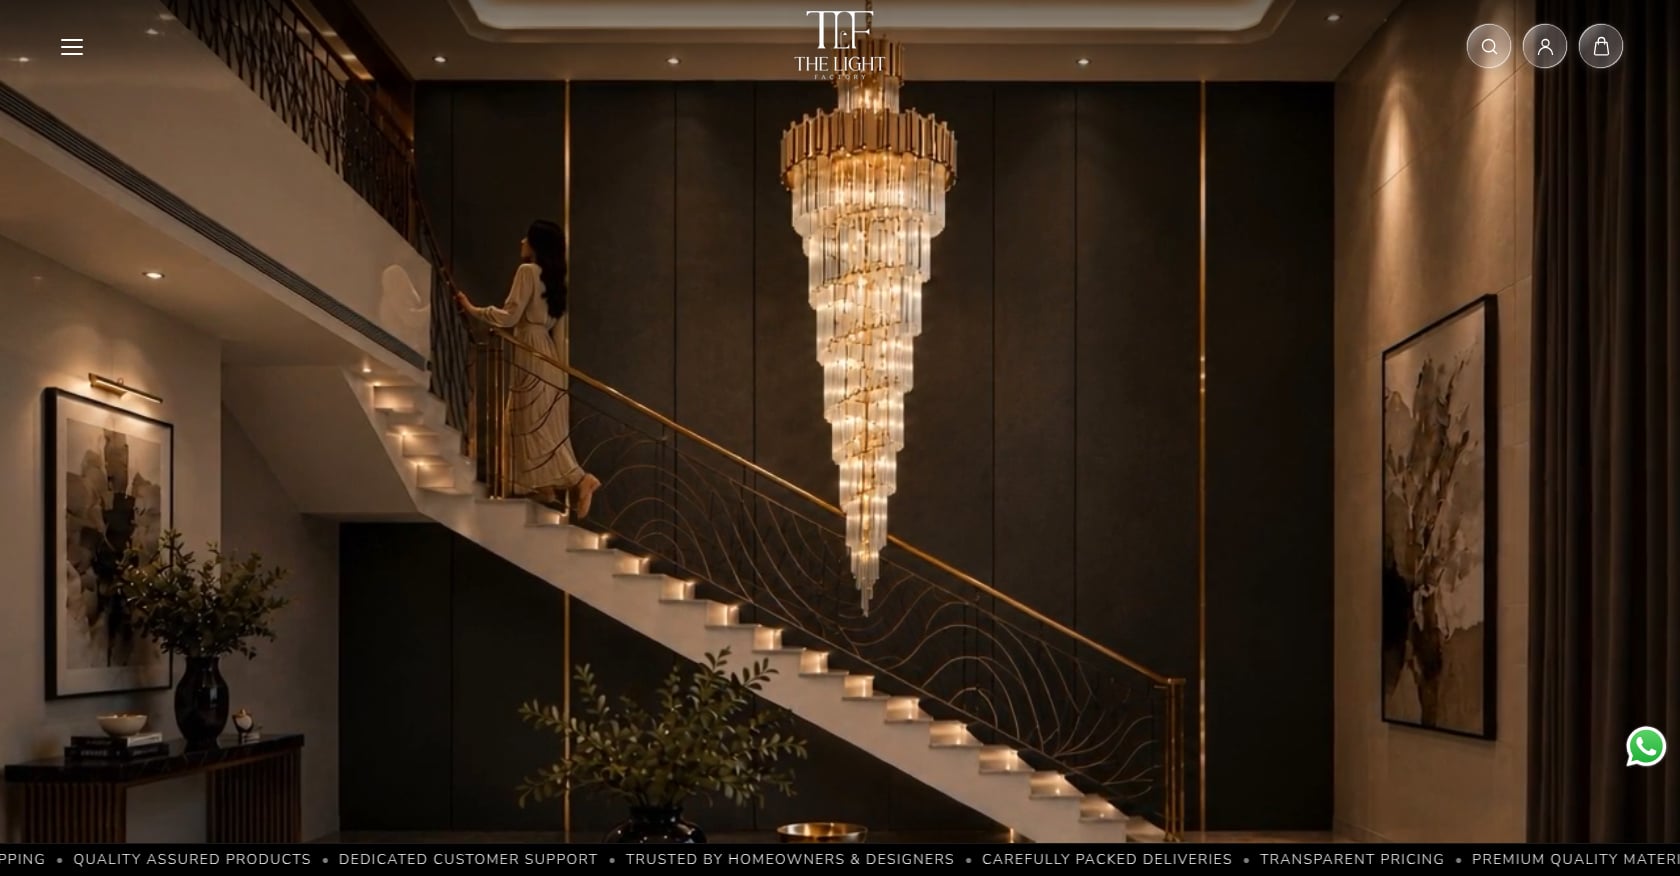
Best for: 2BHK apartments and rooms under 9 ft ceiling height.
For smaller rooms, a simple peripheral POP border or a single-layer cove design along just two walls (typically forming an L-shape) adds character without eating into precious ceiling height. This is the design that respects the Indian reality of 8.5–9 ft slab heights in standard apartments.
Key specs and costs:
- Only needs a 2–3 ft border, with a drop of just 4–6 inches
- LED installation: ₹5,000–10,000
- Basic POP with this partial cove: ₹60–85 per sq ft
What to watch out for:
- The uncoved walls can look bare, creating an unfinished feel
- Avoid running the cove along the shortest walls, as it emphasizes the room’s narrowness
Fixture pairing: A modern disc wall light on the uncoved walls fills the gap. The clean, minimal profile doesn’t compete with the cove glow but prevents those walls from feeling like afterthoughts.
9. Curved / Organic Cove Design
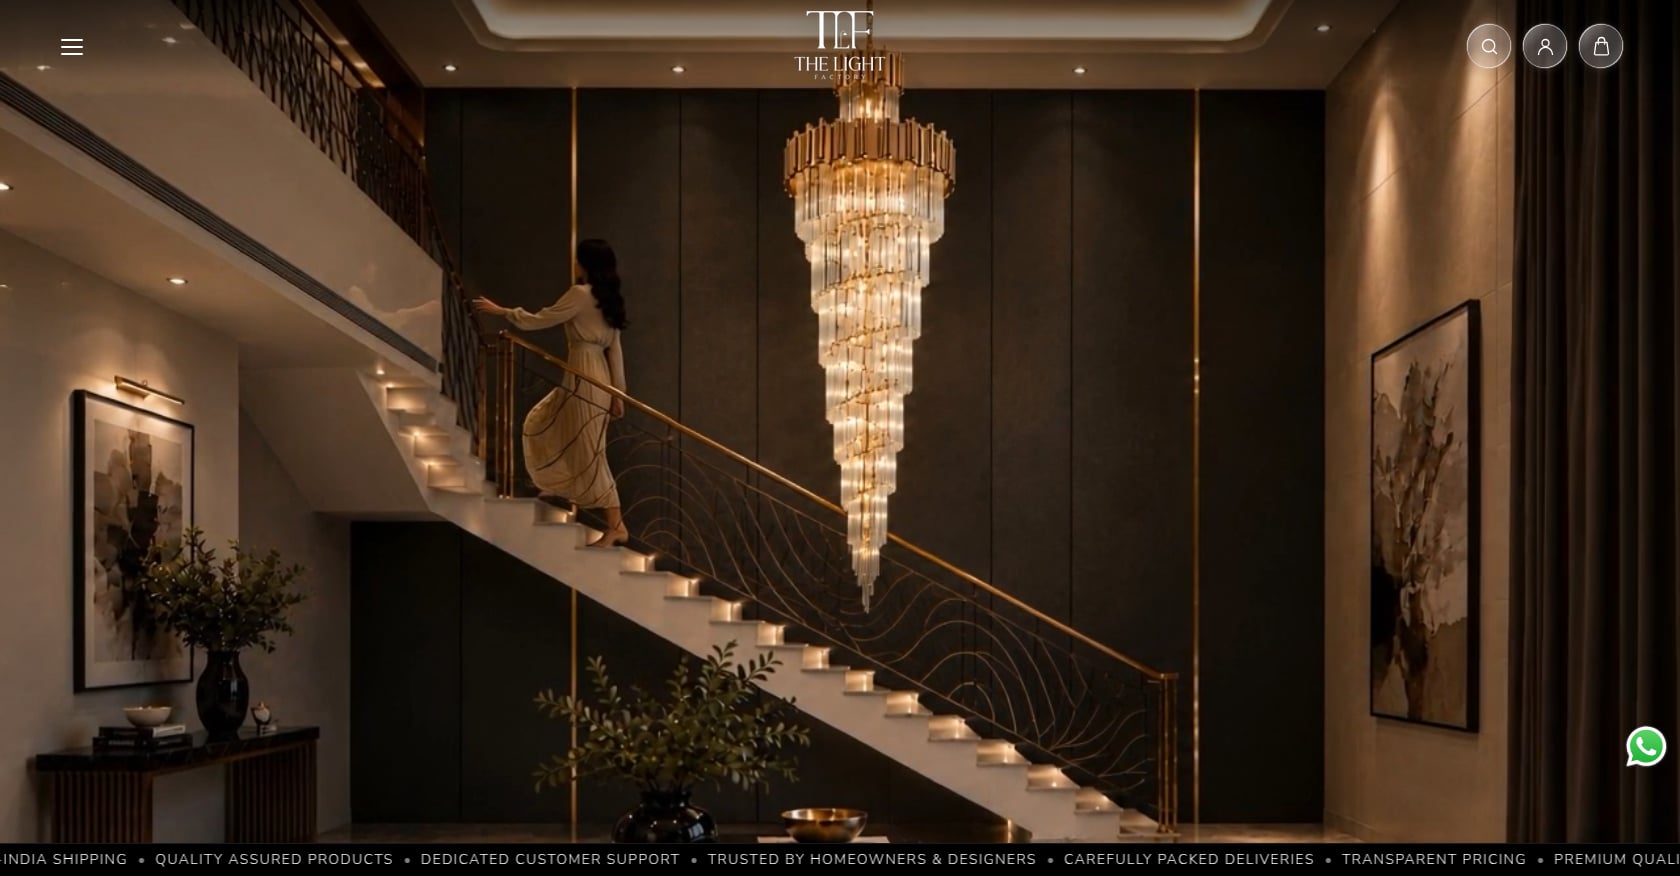
Best for: Contemporary luxury living rooms and bedrooms seeking a hotel-like feel.
Organic ceiling designs use flowing curves instead of straight lines for the cove profile. The curved forms create a calming atmosphere and add a luxurious touch that’s becoming increasingly popular in premium Indian interiors. POP is the preferred material here because of its moldability, as gypsum board doesn’t bend well.
Key specs and costs:
- Requires 10 ft minimum slab height
- LED installation: ₹15,000–30,000
- POP construction for curves runs 30–50% more than straight-line equivalents
- Skilled POP artisans are essential, and they aren’t cheap
What to watch out for:
- Curved coves are difficult to retrofit or modify later
- Cheap POP work on curves will crack within a year
- The organic shape can clash with angular furniture
Fixture pairing: A sculptural pendant that echoes the curves. On side walls, a bloom wall light with organic forms reinforces the flowing theme throughout the room.
10. Cove + Profile Light Combination
Best for: TV rooms and feature wall living rooms.
Cove lighting is the glow where you can’t see the source. Profile lighting is the visible LED channel, mounted on surfaces like TV unit edges or shelving. Most premium Indian living rooms now use both: cove for the ceiling ambient layer, profile for TV unit and feature wall edges. Together, they create distinct visual zones.
Key specs and costs:
- Cove LED: ₹8,000–14,000
- Profile LED channels: ₹4,000–6,000 per wall
- Total combined: ₹12,000–20,000
- These should be on separate dimmer circuits
What to watch out for:
- Using the same color temperature for both the ceiling cove and wall profiles can flatten the room’s sense of depth
- Profile lights near a TV screen create glare if not angled carefully
- Cable management between the two systems needs planning at the rough-in stage
Fixture pairing: Decorative wall lights on the feature wall, positioned between profile light channels, add a third layer. For a focused discussion on accent approaches, see this guide on living room accent lighting.
11. Motion-Sensor Cove for Entrance / Foyer
Best for: Entrance hallways and foyers.
A peripheral cove in the entrance hall wired to a motion sensor circuit. When the front door opens, warm white activates at 60%. It dims to 20% after three minutes and switches off after ten. The entrance always looks welcoming without anyone reaching for a switch.
Key specs and costs:
- LED installation: ₹8,000–14,000
- Motion sensor module adds ₹1,500–3,000
- Dimming controller adds ₹2,000–4,000
- Total: ₹11,500–21,000
What to watch out for:
- Cheap motion sensors have a limited detection angle and may not trigger when the door opens
- The dimming transition needs to be smooth, not abrupt
- Pets can trigger false activations
Fixture pairing: A pendant or chandelier in the foyer, set on a separate manual switch, provides the “grand welcome” effect for dinner parties and guests. The motion-sensor cove handles the everyday convenience.
12. Corridor / Hallway Linear Cove
Best for: Long hallways connecting bedrooms and living areas.
Running a continuous LED cove along the ceiling perimeter of a hallway replaces the harsh circles of recessed downlights with an even wrap of indirect light. Corridors, often the most neglected spaces in Indian homes, suddenly feel like part of a cohesive design.
Key specs and costs:
- LED installation: ₹6,000–12,000 for a standard 4–6 metre corridor
- Minimal false ceiling drop needed (4 inches along one or both walls)
- Works well even at 9 ft slab height
What to watch out for:
- Long, uninterrupted cove runs can feel monotonous
- LED strip joins every 5 metres can create visible bright spots if not soldered properly
- Corridors need at least some downward light for floor visibility, so don’t skip a few recessed spots
Fixture pairing: Sequential linear wall lights at 4–5 ft intervals create a rhythmic pattern that breaks the monotony. The cove provides the ceiling wash, the wall lights provide the punctuation.
13. Bedroom Headboard Cove
Best for: Any bedroom that wants a focal point around the headboard.
Integrating cove lighting above the headboard into the ceiling highlights architectural wall panels and creates a natural focal point. With dimmable options, you switch from bright lighting for reading to a gentle glow for winding down. This is one of the simplest cove designs to execute because it only spans one wall.
Key specs and costs:
- LED installation: ₹4,000–8,000
- Cove runs typically 8–12 ft (the width of the headboard wall)
- Works in rooms as low as 9 ft
What to watch out for:
- Position the cove at least 12 inches ahead of the headboard surface so the light fans out instead of hitting the wall at a harsh angle
- Without a dimmer, the cove will be too bright for a bedroom at night
- Warm white (2700–3000K) is non-negotiable for sleep-friendly bedrooms
Fixture pairing: Bedside sconces like a halo wall light provide the reading layer. The cove handles ambient mood, the sconces handle task lighting. Two circuits, two purposes.
14. Dining Room Tray Cove + Central Pendant
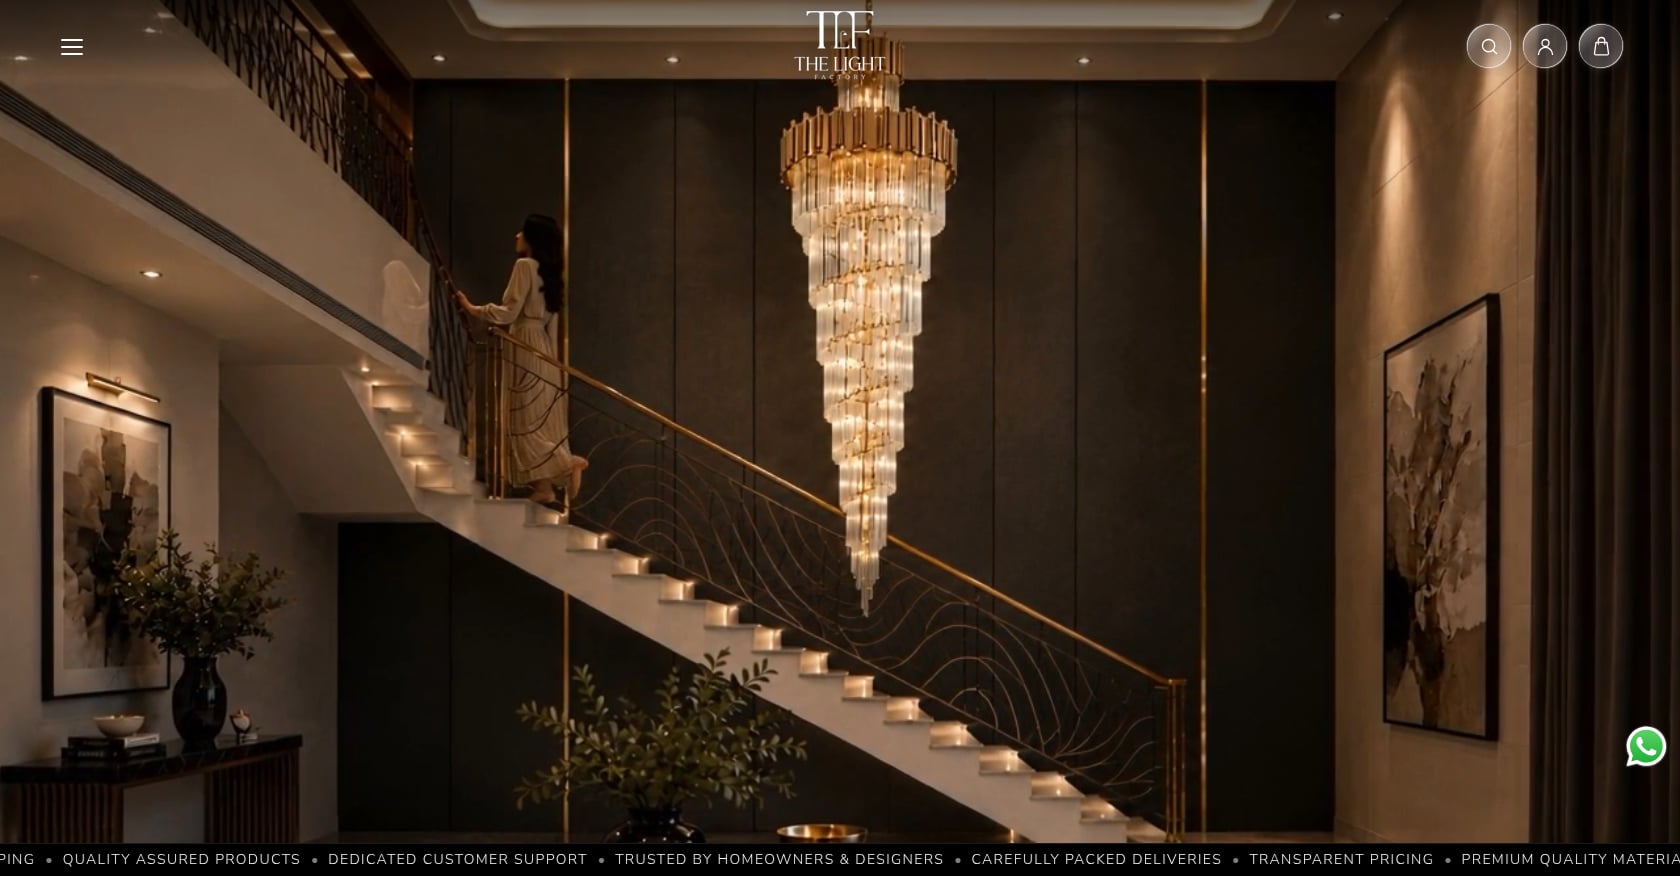
Best for: Dedicated dining rooms and dining zones in open-plan layouts.
A tray ceiling above the dining table with cove lighting draws the eye upward and defines the dining area architecturally, even in an open floor plan. The cove creates the room’s atmosphere while a pendant handles the functional light over the table.
Key specs and costs:
- LED installation: ₹8,000–16,000
- Tray construction: ₹120–200 per sq ft for the dedicated dining area
- Dimmable cove strip is essential for transitioning from casual meals to dinner parties
What to watch out for:
- The pendant and the cove strip must be within 500K of each other in color temperature, or the dining table will sit in one mood while the ceiling glows in another
- Pendant hang height matters: 28–34 inches above the table surface is standard
- If you’re hanging two pendants, check out this guide on pendant spacing over dining tables
Fixture pairing: A statement pendant like the Auric Prism centered in the tray. The cove frames the pendant from above, creating a layered composition that looks intentional rather than thrown together.
15. Smart / Tunable-White Cove
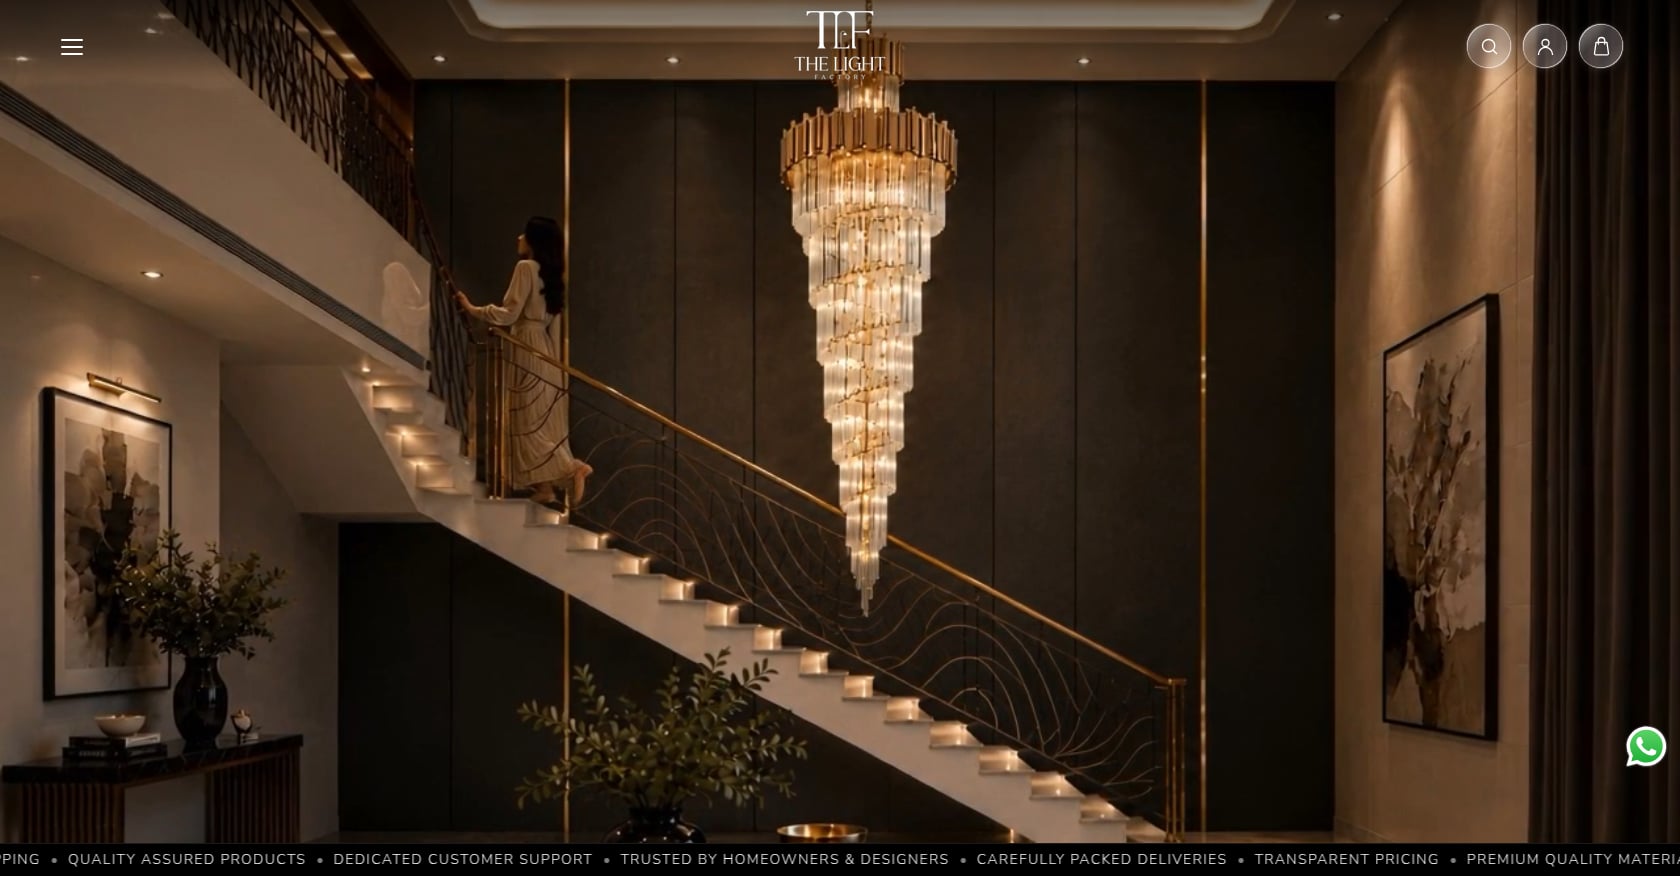
Best for: Tech-forward homes that want circadian-responsive lighting.
Tunable white LED strips shift their color temperature across a programmed range, typically 2700K to 6500K. When set to a circadian schedule, they move from cool daylight tones in the morning through neutral white in the afternoon and into warm amber by evening. This is the ceiling cove design of the future, and it’s already available.
Key specs and costs:
- Tunable-white COB strips cost 40–60% more than fixed-temperature strips
- Smart controller (Zigbee, Wi-Fi, or Bluetooth): ₹3,000–8,000
- Total LED installation: ₹15,000–30,000
- Compatible with Google Home, Alexa, and Apple HomeKit depending on controller brand
What to watch out for:
- Cheap tunable strips produce a green tint at mid-range temperatures
- The smart controller needs reliable Wi-Fi, or the automation fails
- Any decorative fixture in the room should also be dimmable and ideally on the same smart system, otherwise you get a room where the cove shifts to warm amber at 9 PM but the chandelier stays at fixed 4000K
Fixture pairing: Any dimmable decorative fixture on the same automation platform. The goal is a room where every light source moves in sync.
What Completes a Cove Ceiling: The Fixture Pairing Guide
This is where most ceiling cove design articles stop. They show you the hidden LED strip and call it done. But lighting harmony rarely relies on a single source. Chandeliers form the ambient core, while layered illumination through sconces, cove lighting, and recessed downlights enhances depth and texture.
Think of your ceiling lighting in three layers:
- Ambient (the cove): Provides the room’s base glow. Indirect, soft, borderless.
- Focal (the decorative fixture): A chandelier, pendant, or statement wall light that gives the eye something to land on.
- Task/Accent (downlights and sconces): Targeted light for reading, artwork, or countertops.
Most Indian living rooms jump straight from “just a cove” to “just a chandelier” without thinking about how the two interact. Here’s what matters.
Color Temperature Matching
Your cove strip and your fixture bulbs should be within 500K of each other. If the cove runs at 3000K (warm white) and the chandelier uses 6500K bulbs, the room will feel like two different spaces colliding. Stick to 2700–3000K for bedrooms and living rooms, 3500–4000K for kitchens and offices.
Size and Proportion
For chandeliers, add the room’s length and width in feet, then convert to inches for the ideal chandelier diameter. A 15x12 ft room = 27 inches. For pendants over dining tables, the pendant diameter should be 12 inches less than the table width.
The Separate Circuit Rule
Every cove, every downlight zone, every accent layer needs its own dimmer connection. One circuit for everything means the ceiling can only ever do one thing. At minimum, wire the cove and the central fixture on separate dimmers. For a deeper look at coordinating fixtures across your home, see this guide on matching lighting for multiple rooms.
Materials and Costs for Ceiling Cove Design in India
False Ceiling Material Comparison
| Material | Cost per sq ft | Cove-Friendly? | Best For |
|---|---|---|---|
| POP (Plaster of Paris) | ₹55–80 | Excellent (moldable for curves) | Custom shapes, organic coves |
| Gypsum Board | ₹75–110 | Good (straight lines) | Perimeter coves, tray ceilings |
| Grid / PVC | ₹65–95 | Limited | Offices, commercial spaces |
Adding cove lighting and LED profiles adds ₹30–55 per sq ft on top of the base ceiling cost. Adding the structural cove ledge itself adds ₹25–45 per running foot of perimeter.
Full Room Budget Examples
Living room (200 sq ft, all four walls):
- Gypsum false ceiling: ₹15,000–22,000
- Cove construction: ₹2,500–5,000
- LED COB strips with profiles: ₹14,000–25,000
- Decorative chandelier: ₹5,000–40,000+
- Total: ₹36,500–92,000+
Bedroom (150 sq ft, headboard cove only):
- POP border ceiling: ₹9,000–12,750
- Cove construction: ₹1,000–2,000
- LED COB strips: ₹4,000–8,000
- Bedside wall lights (pair): ₹4,000–16,000
- Total: ₹18,000–38,750
LED Strip: COB vs SMD
High-density COB (Chip-on-Board) LED strips produce a continuous line of light instead of visible diode dots. For cove lighting, COB is the clear winner. SMD strips (the older type with individual LED chips spaced apart) create a dotted-line effect on the ceiling that looks cheap. The price difference is modest, roughly 20–30% more for COB, and worth every rupee.
5 Mistakes That Ruin Ceiling Cove Designs
1. Choosing the ceiling shape before planning the light.
Most homeowners pick a ceiling design from Pinterest and then ask the electrician to “fit something in.” A lighting consultant from Singapore put it bluntly: it works better the other way around. Design the light first, then build the ceiling to house it.
2. Cove too shallow, making LED dots visible.
An Indian installation practitioner shared that 100mm from the outer cove face to the inner ceiling face is the minimum for standard seated viewing angles. For ceilings above 10 feet, specify 120–150mm. The most common mistake in Indian installations is a cove that hides the strip when viewed from directly below but reveals the LED dots when seen from across the room at seated eye level.
3. Over-lighting the cove.
Running full-brightness warm white around the entire perimeter can flatten a room, washing out shadows and depth. Cove light should be subtle. If you can’t dim it, you’ve lost half its value.
4. Mismatched color temperatures between cove and fixtures.
A warm white cove at 2700K paired with cool white downlights at 5000K creates a schizophrenic room. For most homes, warm white or a warm-neutral range (2700–3500K) is the easiest choice because it supports a relaxed ambient layer that plays well with most decorative fixtures.
5. Wiring everything on one circuit.
If your cove, chandelier, and downlights all share one switch, you can never adjust the layers independently. Separate dimmers for each layer is not a luxury. It’s the foundation of good lighting design.
Color Temperature Cheat Sheet
| Room | Recommended CCT | Mood |
|---|---|---|
| Bedroom | 2700–3000K (Warm White) | Cozy, sleep-friendly |
| Living Room | 3000K (Warm White) | Relaxed, inviting |
| Dining Room | 2700–3000K (Warm White) | Intimate, social |
| Kitchen | 3500–4000K (Neutral White) | Balanced, functional |
| Home Office | 4000–5000K (Cool White) | Energizing, focused |
| Bathroom | 3500–4000K (Neutral White) | Clean, accurate |
| Hallway/Foyer | 3000K (Warm White) | Welcoming |
For dedicated workspace coves, this guide on ceiling lighting for home offices covers the nuances of cool-white lighting in detail.
Is Cove Design Dated? Addressing the Debate
On Houzz forums, a homeowner building a modern home reported that their design team had conflicting views. One side favored decorative elements such as coves and reverse coves with applicable lighting. The other argued for plain ceilings, claiming that cove designs are dated.
The honest answer: poorly executed cove lighting with bright blue or multicolor LEDs from 2015 is dated. A well-designed warm-white cove with proper depth, quality COB strips, and a complementary decorative fixture is timeless. The technique hasn’t gone out of style. Cheap execution of it did.
The Indian false ceiling market is projected to grow at 7.8% CAGR through 2028, which suggests that cove ceilings aren’t going anywhere. The evolution is toward subtlety, smarter controls, and layered integration with decorative fixtures rather than coves as standalone showpieces.
Frequently Asked Questions
What is the minimum ceiling height for a cove design?
Your room should ideally have a minimum slab height of 10 ft before installing a full false ceiling with cove, leaving at least 9 ft of usable height. For rooms with a slab height of 2.7m (roughly 8.8 ft) or less, a perimeter-only ceiling with a 2–3 ft border of gypsum around the edge is the better option, as it avoids dropping the entire ceiling.
Can I add cove lighting to an existing false ceiling?
Yes, but it depends on the existing design. If your false ceiling already has a ledge or border, an electrician can often route COB strips along the inner edge without major reconstruction. If the ceiling is flat with no recess, you’ll need to add a small gypsum or POP ledge, which involves some construction work.
How much does a cove ceiling cost per sq ft in India?
A basic POP false ceiling runs ₹55–80 per sq ft, and gypsum board runs ₹75–110 per sq ft. Adding cove lighting and LED profiles adds another ₹30–55 per sq ft. So a full cove ceiling in gypsum costs roughly ₹105–165 per sq ft. Designer POP with layers and cove lighting can reach ₹120–200 per sq ft.
What is the difference between cove lighting and profile lighting?
Cove lighting is hidden. The LED strip sits inside a recessed ledge, and you see only the reflected glow on the ceiling, never the source itself. Profile lighting uses a visible LED channel mounted on surfaces like shelves, TV units, or wall edges. Both use similar LED strips, but the installation technique and visual effect are completely different.
Can cove lighting replace the main light in a room?
No. Cove lighting is an ambient background layer. It doesn’t provide enough directional or focused light for reading, cooking, or detailed tasks. You still need a central fixture (pendant, chandelier, or flush mount) and task lighting (sconces, desk lamps, or downlights) to have a fully functional room.
Which LED strip type is best for cove ceilings?
COB (Chip-on-Board) strips are the best choice. They produce a continuous line of light instead of visible individual diode dots, which matters because the ceiling surface reflects and amplifies any unevenness. Standard SMD strips create a dotted-line pattern on the ceiling that looks noticeably cheaper.
Does cove lighting increase electricity bills significantly?
Not really. A typical 14-metre LED cove installation for a 12x12 ft room consumes 15–25 watts, roughly the same as one traditional tube light. Running it 6 hours daily adds about ₹50–80 per month to your electricity bill. The bigger energy consideration is the decorative fixture and downlights you pair with the cove.
Is POP or gypsum better for ceiling cove designs?
POP is better for curved and organic cove designs because it’s moldable, and it’s cheaper for straight-line applications too. Gypsum board is faster to install, more moisture-resistant, and produces a smoother factory-finished surface. For most standard Indian apartments, either works well. For complex or curved cove profiles, POP is the clear choice.


